How to Record an Online Course at Home (Without Fancy Gear)
You don't need a studio or a DSLR. A phone, a cheap mic and a window beat expensive gear in a bad room. Here's how to record a course at home that looks and sounds great.
The biggest thing stopping people from recording their course isn't lack of knowledge — it's the belief that they need a studio, a DSLR, and a film crew first. They don't. Some of the best-selling courses online were recorded on a phone in a bedroom, because students care about clear teaching, good sound, and a watchable picture — not cinema-grade production. Waiting for the 'perfect setup' is just procrastination in disguise.
This guide shows you how to record a professional-feeling online course at home in India, on a sensible budget. We'll cover the gear that's genuinely enough, the two things that actually matter (sound and light), how to record screen and face, and practical tips to record faster and with fewer re-takes. Done beats perfect — let's get you recording.
The two things that actually matter
Before any gear list, internalise this: of everything in a video, sound and light matter most — far more than camera resolution. Viewers will forgive an average picture but will click away from bad audio within seconds, and good lighting makes even a phone camera look sharp while bad lighting makes an expensive camera look amateur. Spend your attention (and your small budget) here first, and most of the 'production quality' problem is solved.
The gear you actually need
Here's a setup that's genuinely good enough to sell a course — most of which you may already own.
- Camera — a recent smartphone or your laptop webcam. A modern phone shoots excellent video.
- Microphone — a ₹1,000–₹1,500 collar (lavalier) mic. This is the single highest-impact purchase.
- Light — a window during the day, or an inexpensive ring light/lamp. Face it; never sit with it behind you.
- A quiet room — soft furnishings (curtains, bed, cushions) tame echo; bare rooms sound hollow.
- Screen recorder — built-in (Mac/Windows/phone) or a free tool, for slides and demos.
- A tidy background — a clean shelf or a plain wall. Simple looks professional.
Getting good audio
Audio is where amateur and professional separate, so get it right. Use the collar mic (not the camera's built-in mic, which picks up room echo and hiss), clip it close to your mouth, and record in the quietest room you have. Turn off fans and ACs during takes if they're noisy, close windows to street sound, and do a 10-second test recording first to check levels and that there's no hum or echo.
If a room echoes, you don't need acoustic panels — record in a smaller, softer space (a room with a bed, curtains and a wardrobe absorbs sound beautifully), or even drape a blanket nearby. These free fixes get you most of the way to clean, professional-sounding audio.
Getting good light
Good light is mostly about direction. Face a window or a lamp so the light falls on your face, and never sit with a bright window behind you — that turns you into a dark silhouette. Soft, even, front-facing light flatters everyone and makes a phone camera look great. Daytime by a window is free and excellent; if you record at night, an inexpensive ring light or two lamps placed in front of you (slightly to each side) do the job.
Screen-record theory, show your face for trust
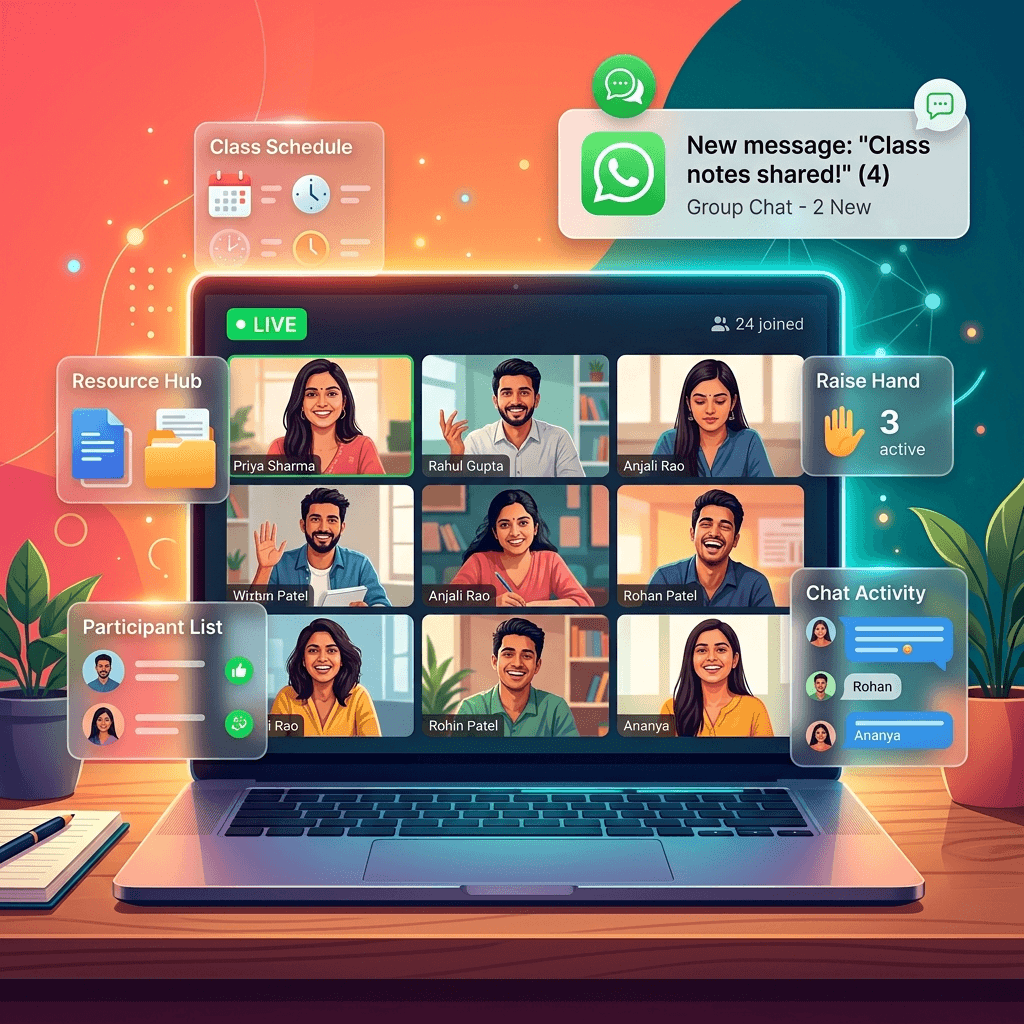
Most courses are a mix of two shot types, and using each well makes your course feel polished. Screen-record for anything visual or technical — slides, software demos, walkthroughs — where students need to see what you're doing. Show your face for the parts that build connection and trust: the welcome, the why, the encouragement, the explanations that benefit from your expression and energy.
A talking-head intro to each module plus screen-recorded teaching is a reliable, professional format that's easy to produce at home. You can also use picture-in-picture (your face in a corner of the screen recording) to keep the human connection during demos. Whatever you choose, keep it consistent so the course feels coherent.
Record faster, re-take less
The grind of recording is re-takes, so set yourself up to need fewer of them.
- Plan each lesson — a hook, the one idea, an example, an action. A loose script means less rambling and fewer fumbles.
- Record in short takes — one lesson at a time. A mistake means redoing two minutes, not two hours.
- Don't aim for flawless — a small stumble is human and fine; restarting for every 'um' wastes hours.
- Keep lessons short — 5–10 minutes, one idea each. Easier to record, easier to watch, easier to re-do.
- Batch similar lessons — record several in one sitting while your energy and setup are dialled in.
Done beats perfect
Ship the course, watch where students get confused, and re-record only the weak lessons later. A course that exists and helps people beats a 'perfect' one stuck in editing forever.
Light editing (don't overdo it)
You don't need to be a video editor. Trim the dead air at the start and end, cut out any long mistakes, and that's usually enough — students want clear teaching, not jump-cut spectacle. Free or built-in editors handle this fine. Resist the urge to add fancy transitions and effects; they take huge time and add little to a teaching video. Clean audio, decent light and tight trims are 95% of 'good production' for a course.
Use Indian, real examples
Production aside, what makes a recorded course land is relevance. Use Indian examples — rupees, local scenarios, names and situations your learners recognise — so the lesson feels made for them. Real, specific examples teach far better than abstract ones, and they make your course memorable. This costs nothing and matters more than any piece of gear. For structuring the content itself, see how to create an online course.
How to look and sound confident on camera
Most first-time creators aren't held back by gear — they're held back by feeling awkward on camera. The good news is that on-camera confidence is a skill that improves fast with a few simple habits, and students value warmth and clarity far more than polish. You don't need to be a TV presenter; you need to sound like a knowledgeable friend explaining something.
- Talk to one person, not 'an audience' — imagine a single student and explain it to them. It instantly warms your tone.
- Look at the lens, not your own face on screen — it feels like eye contact to the viewer.
- Smile and bring energy — your enthusiasm carries through the screen and keeps learners watching.
- Don't aim for flawless — a natural, slightly imperfect delivery feels human and trustworthy; over-rehearsed sounds robotic.
- Practise on the easy lessons first — by the time you reach the important ones, you'll be warmed up and natural.
Your first few recordings will feel awkward — everyone's do. Record them anyway, because confidence comes from reps, not from waiting to feel ready. Watch one back, note one thing to improve, and move on. Within a handful of lessons you'll sound noticeably more natural, and you can always re-record the earliest ones later if you want.
Common home-recording mistakes
- Obsessing over the camera while the audio stays bad.
- Sitting with a window behind you (silhouette).
- Using the built-in mic in an echoey room.
- Recording 40-minute marathon lessons that are painful to redo and to watch.
- Over-editing with effects instead of shipping.
- Waiting for a 'perfect setup' instead of starting with what you have.
Your home-recording checklist
- Get a cheap collar mic — your highest-impact purchase.
- Record by a window or facing a lamp; never backlit.
- Use a quiet, soft room; do a 10-second sound test.
- Plan each short lesson; record in short takes.
- Screen-record demos; show your face for trust.
- Trim lightly; skip fancy effects.
- Use Indian, real examples; ship and improve later.
Recorded it? Now sell it
Host your course, add quizzes and certificates, and open a UPI storefront with 0% commission — turn your home recordings into income on a free India-first platform.
Start free
Renu Rawat
Founder of thebigclass.com. Helping Indian educators and creators build profitable, independent learning businesses without losing 30% to platform fees.
About the founderFrequently asked questions
- What equipment do I need to record an online course at home?
- Less than you think: a recent smartphone or laptop webcam for video, an inexpensive collar (lavalier) mic for audio (the single highest-impact purchase, around ₹1,000–₹1,500), good light from a window or a lamp you face, a quiet room with soft furnishings to tame echo, a screen recorder for slides and demos, and a tidy background or plain wall. You do not need a DSLR, a studio, or expensive software — sound and light matter far more than camera resolution.
- Can I record a professional course on my phone?
- Yes — a modern smartphone shoots excellent video, and many best-selling courses were recorded on phones. What makes a course look and sound professional is good audio (a collar mic, a quiet room), good lighting (face a window or lamp), short focused lessons, and clear teaching — not an expensive camera. Pair your phone with a cheap mic and decent light and you'll outperform an expensive camera used in a dark, echoey room.
- How do I get good audio when recording a course at home?
- Use a collar mic clipped close to your mouth rather than the camera's built-in mic, and record in the quietest, softest room you have — one with curtains, a bed and a wardrobe absorbs echo beautifully. Turn off noisy fans or ACs during takes, close windows to street sound, and do a 10-second test first to check levels and that there's no hum or echo. Clean audio matters more than anything else, because viewers click away from bad sound within seconds.
- How should I light myself for course videos?
- Face your light source. Sit facing a window during the day, or a lamp/ring light at night, so the light falls on your face — and never sit with a bright window behind you, which turns you into a dark silhouette. Soft, even, front-facing light flatters everyone and makes even a phone camera look sharp. Daytime by a window is free and excellent; at night, two lamps placed in front of you, slightly to each side, do the job.
- Should I show my face or just record my screen?
- Use both. Screen-record anything visual or technical (slides, software demos, walkthroughs) where students need to see what you're doing, and show your face for the parts that build connection and trust — the welcome, the why, the encouragement. A talking-head intro to each module plus screen-recorded teaching is a reliable, professional home format, and picture-in-picture (your face in a corner during demos) keeps the human connection. Keep it consistent so the course feels coherent.
- How do I record a course faster with fewer re-takes?
- Plan each lesson loosely (a hook, one idea, an example, an action) so you ramble less, record in short takes (one lesson at a time, so a mistake means redoing two minutes not two hours), keep lessons short (5–10 minutes, one idea each), don't restart for every small stumble (a little human imperfection is fine), and batch similar lessons in one sitting while your setup and energy are dialled in. The goal is steady progress, not flawless first takes.
- Do I need to edit my course videos professionally?
- No. Trim the dead air at the start and end and cut any long mistakes — that's usually enough, and free or built-in editors handle it fine. Students want clear teaching, not jump-cut spectacle, so resist adding fancy transitions and effects that take huge time and add little. Clean audio, decent light and tight trims account for about 95% of what makes a course feel well-produced; spend your effort there, not on heavy editing.
- What's the most common mistake when recording a course at home?
- Obsessing over the camera while neglecting audio — bad sound loses viewers faster than an average picture ever will, so the cheap collar mic and a quiet room matter more than a better camera. Close behind are sitting with a window behind you (which makes you a silhouette), recording marathon lessons that are painful to redo and to watch, over-editing instead of shipping, and waiting for a 'perfect setup' instead of starting with what you already have.
- How do I feel less awkward on camera?
- On-camera confidence is a skill that improves fast with reps, and students value warmth and clarity over polish. Talk to one imagined student rather than 'an audience', look at the lens (not your own face on screen) so it feels like eye contact, smile and bring energy, and don't aim for flawless — a natural, slightly imperfect delivery feels human and trustworthy. Practise on the easy lessons first so you're warmed up for the important ones. Your first recordings will feel awkward; record them anyway, because confidence comes from doing, not from waiting to feel ready.
Keep reading
How to Create an Online Course in India: A Step-by-Step Guide
From a blank page to a course people finish — validating the idea, structuring it well, recording on an Indian budget, and adding the quizzes and certificates that make it stick.
Read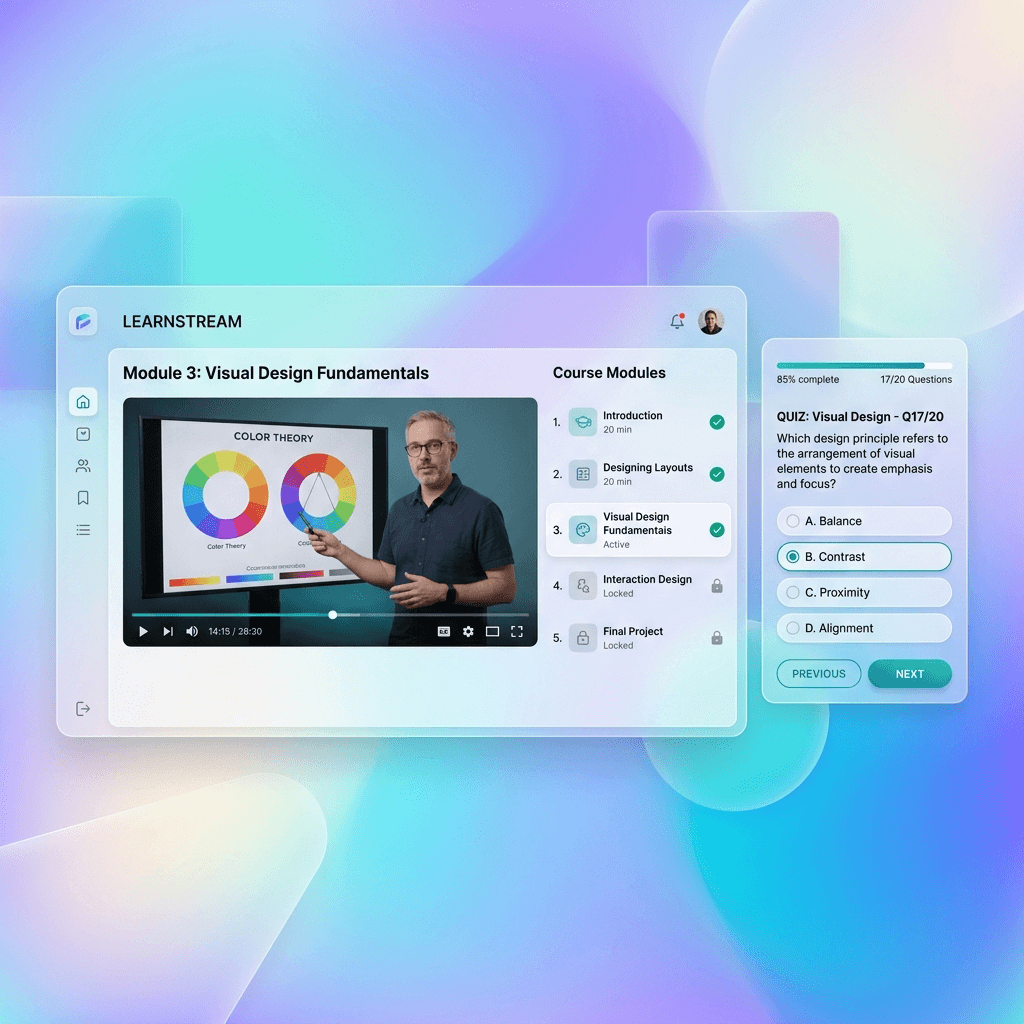
How to Sell Courses Online in India: The Complete 2026 Guide
From a blank page to your first paying student — validating the idea, pricing it right, taking UPI payments, handling GST, and picking a platform that doesn't eat your margin.
Read
How to Price Your Online Course in India
Indian buyers aren't cheap — they're value-sensitive. Price to the result, not the runtime, and use tiers, anchoring and EMI to sell more without a race to the bottom.
Read